Skip to main content
Search
Search This Blog
Inspiration Blooms
Sharing my love of stamping one card at a time!
Home
Published Work
Awards
Resume
More…
Posts
Showing posts from November, 2011
Show all
November 30, 2011
Kraftin' Kimmie Stamps Blog Hop - Puppy Love
November 30, 2011
Snowflakes!
November 29, 2011
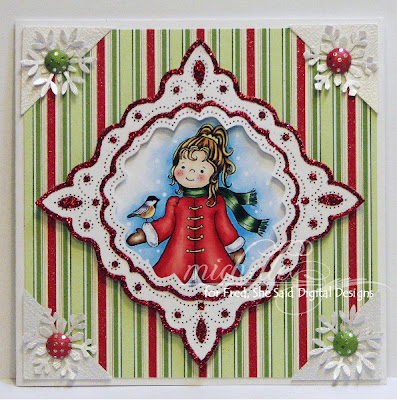
Glittered Frame Winter Card
November 29, 2011
A Touch of Green for Digital Tuesday!
November 28, 2011
Loves to Knit!
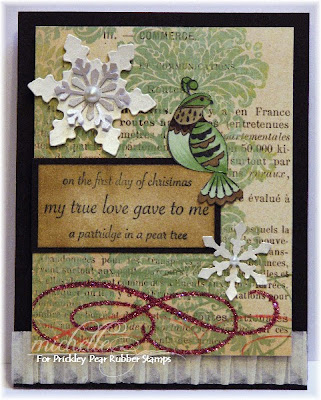
November 28, 2011
Partridge in a Pear Tree
November 27, 2011
Merry Mallows!
November 27, 2011
Rubber Cafe - Stocking
November 26, 2011
Storytime Inspired Winter Card!
November 26, 2011
Christmas Puppy ~ Designed2Delight!
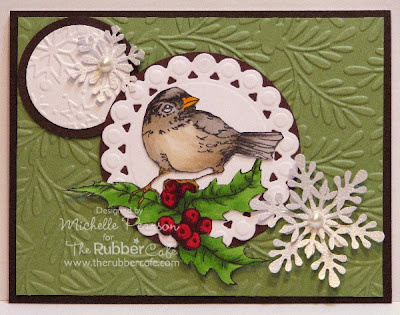
November 26, 2011
Snowflakes in the Moonlight
November 25, 2011
Reindeer Pair ~ Peaceful Season
November 24, 2011
Thank You So Much and CropStop Design Team Call!
November 23, 2011
Our Craft Lounge ~ Thank You Challenge
November 23, 2011
Pickle With Present ~ iCopic
November 22, 2011
Sparkle and Shine ~ Vintage
November 21, 2011
Fall Card Duo ~ Your Next Stamp!
November 21, 2011
Once A Year...
November 20, 2011
Holiday Gift Set ~The Rubber Cafe
November 19, 2011
Visions of SugarPlums...
November 18, 2011
Fred, She Said Blog Hoppin!
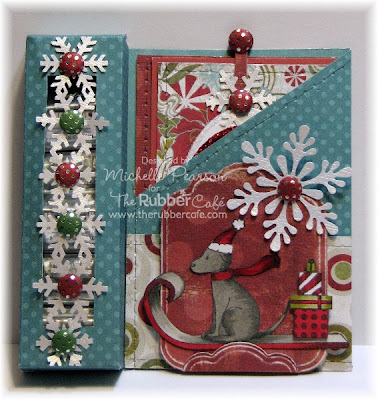
November 17, 2011
Inky Antics Blog Hop ~ Holiday Card Pouch
November 17, 2011
White Winter Wishes!
November 16, 2011
iCopic: Mia With Candy!
November 15, 2011
Autumn Mums ~ Designed2Delight!
November 15, 2011
Digital Tuesday Christmas Time Challenge!
November 14, 2011
Swiss Pixie ~ Violet With Key and Guest Design Team Call!
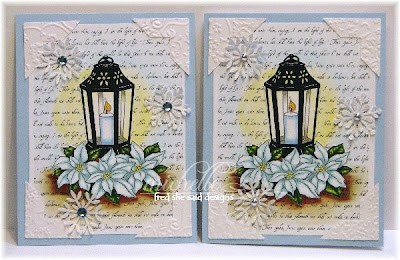
November 14, 2011
Prickley Pear - Poinsettia Bunch
November 13, 2011
Gift Box and Holiday Tag
Newer Posts
Older Posts
Home